Disclosure: Delight note, that when you click certain links and buy certain items through my Website , I will receive a referral commission. You can larn more by following this link. Thanks for your support!
How to Draw Realistic Copse with Pencil
(Click Images for Larger Views)
Trees. In near all landscapes, they play an integral part in the scene. How the trees, grass and foliage are represented in a drawing take a straight bear on on the entire mood and success of the drawing. Trees are too one of the almost complex and intimidating field of study matter to draw.
GOAL OF LESSON:
Take a shut-up view of trees
Learn tips and clues on how to depict trees
Focus on total-foliage copse such as oaks and maples
REFERENCES:
Without a dubiousness, the most influential and important reference that I tin recommend is Mike Sibley'south book "Drawing from Line to Life". He dedicates an entire chapter just on drawing trees. Mike's on-line tree tutorial was the foundation of my learning and understanding on how to draw trees.
The Smithsonian Handbook on Copse is beneficial in providing data on the full general shapes and varieties of copse.
HOMEWORK:
Offset where I began by reading Mike's tutorial on trees! He covers cloth in his tutorial that I accept purposely left out ofthis lesson. Why? Because he says it so much ameliorate than I do! Visit www.sibleyfineart.com – Drawing Trees.
I likewise accept a tutorial on trees at www.dianewrightfineart.com/drawing-trees-i.htm. There are additional samples that are not covered here. Also stroll through my galleries and pay particular attention to the trees and foliage.
HAVE YOU HUGGED A TREE TODAY?
What better mode to learn how to draw copse than to get upward close and personal!!
During the past few years, I have spent a lot of time merely observing and sketching trees.. It is and so important to sympathise the substructure of a tree. Information technology's like trying to draw the human being body without understanding about musculus, bones etc. Hither is my illustration — just equally elbows, wrists, fingers, knees, ankles and toes are crucial to express the 'flow' of the human body – the joints (limbs, branches, twigs and roots) are crucial in expressing the 'menstruation' of the tree.
You must feel the texture of the bark in your own hands, y'all must sympathise how each leaf attaches to the branches and the branches to the body. Then our first stride is to get up close and personal… .
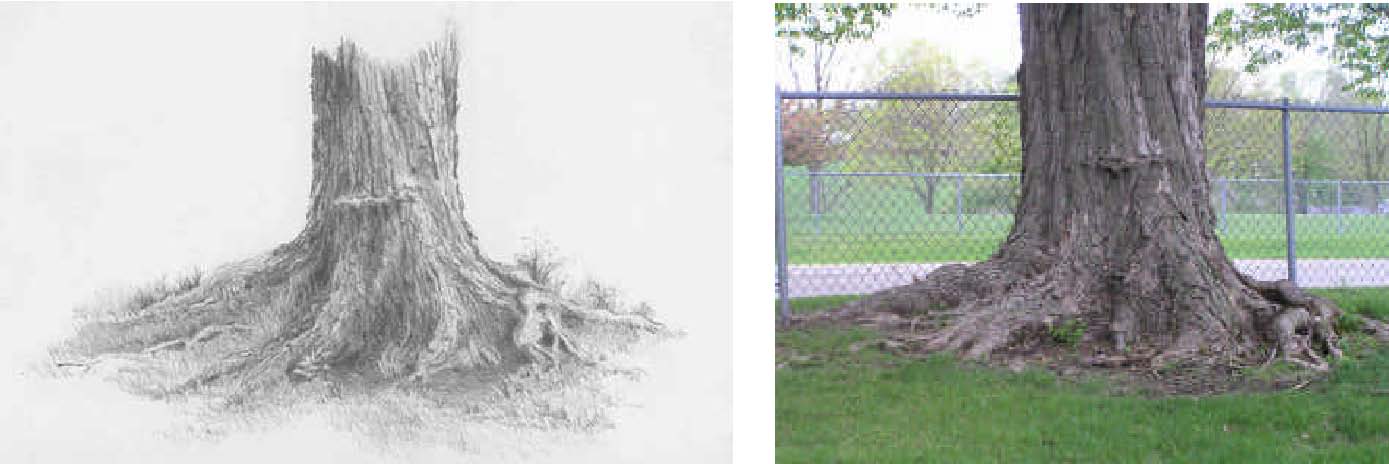
PLANTING THE TREE FIRMLY IN THE Ground
How to institute the tree firmly in the ground? I always pay particular attending to this footstep when drawing. If that tree is not on solid fittings, it will look like it is floating on the paper.
Almost trees will flair out but as they meet the ground. Emphasizing this flare, and fugitive drawing the tree trunk direct, will requite the tree a adept base.
Call up that copse are actually a cylinder in shape. The shading should stand for a cylindrical object. Also the bark of the tree will gradually get more dense on the edges as it wraps itself effectually the tree. (See sample below).
Exist sure to put shadow at that base and draw the grass 'around' the trunk.
Change and vary the weight of your pencil stroke to help develop depth in your tree. The darker areas should accept a heavier weighted line. 'Feel' those shadows go through your hand as you lay down that pencil stroke.
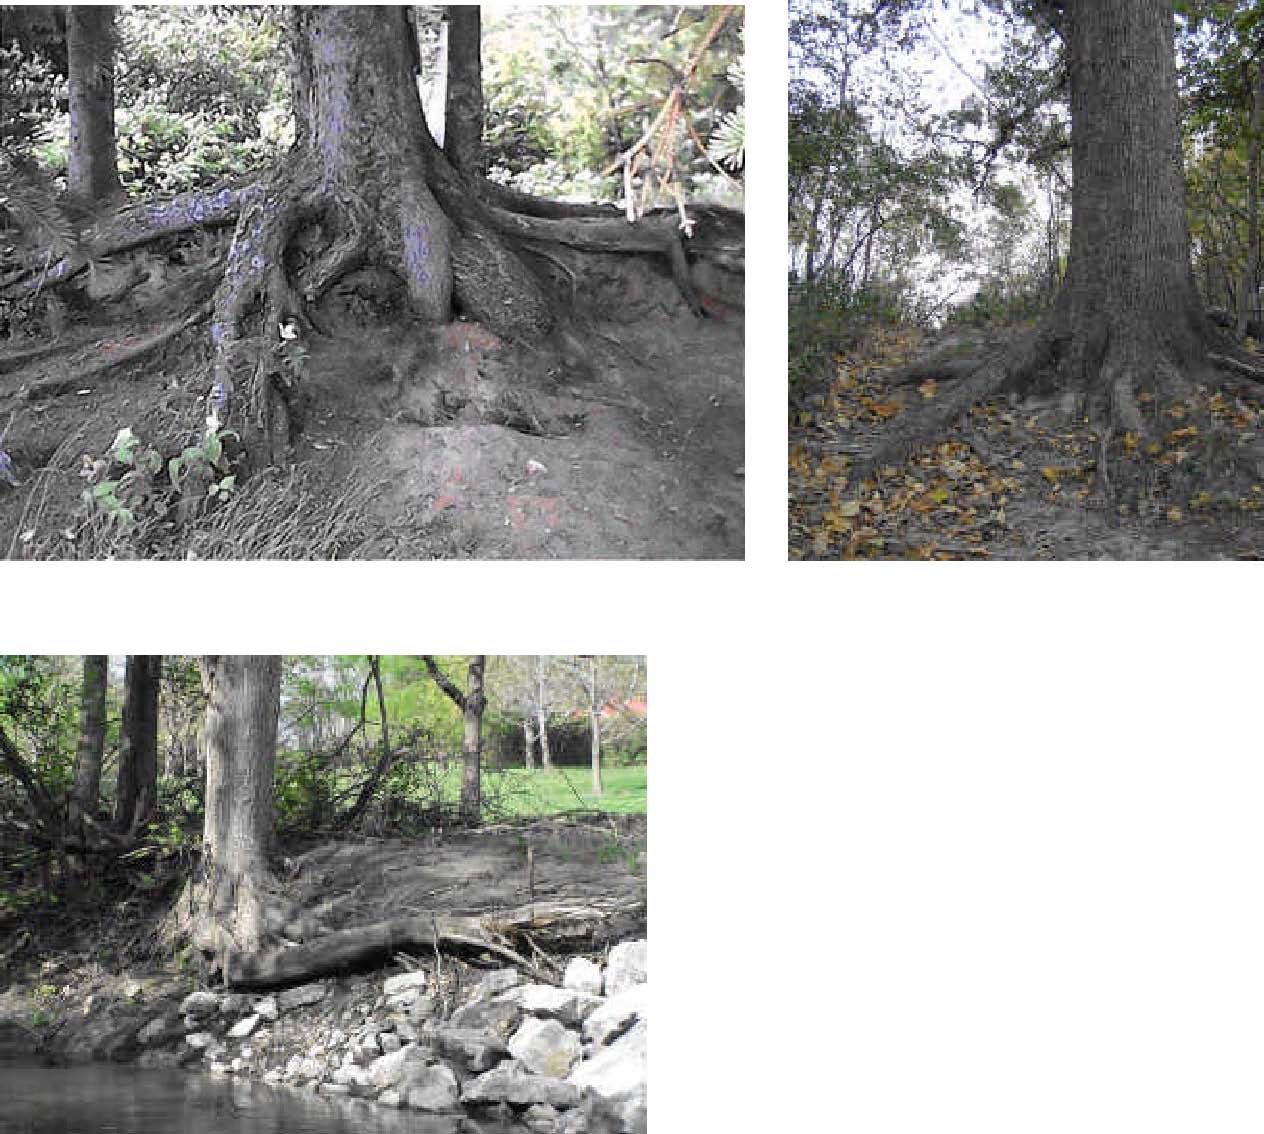
ASSIGNMENT #1 ROOTS:
Roots – What better manner to empathise the structure of a tree than to get to the root of the issue! These reference photos offer us an opportunity to describe some interesting and unique tree roots. Subsequently drawing these, I guarantee y'all won't draw a straight line out of the ground to stand for a tree again!
The texture of the tree torso can vary profoundly. Here are a few copse that I have drawn. The level of particular depends how close the tree is in the scene.
Trees are three-dimensional forms, cylindrical in nature that 'branch" off into smaller cylinders. Here is a illustration of a tree branch dissected into cylindrical tubes. The shading should stand for a cylindrical object. Also the bark of the tree will gradually get denser on the edges as it wraps itself around the tree.
The texture of the torso is much more pronounced than on the branches as well.
Pay particular attending to the 'points of articulation'. This ways the betoken of where every limb attaches to the trunk, every branch to limb and every twig to the branch. This is what helps identifies the type of tree it is. Cartoon the correct proportions and angles of these points is what 'creates' the tree.
A common fault is cartoon the branches too straight. Try to identify those knots and kinks, and those bends in the branches. This gives 'life' to the tree. To assist see these, information technology is helpful to observe the negative space between the branches instead of looking simply at the branch.
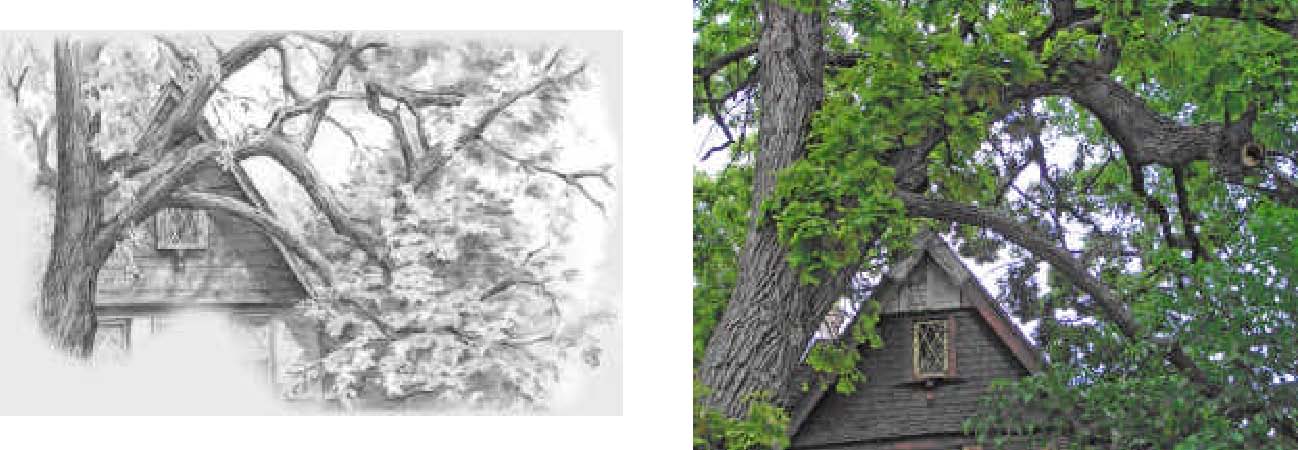
ASSIGNMENT #2 BARK & BRANCHES:
The purpose of this consignment is to work on the 3-d form. Concentrate on the finding and identifying the elbows and kinks in the branches. Look at the negative spaces (area between the branches) to help with placement. As well, experiment and piece of work on pencil strokes to correspond the bawl.
Some other common fault is making the branches also thick or as well thin for the tree blazon
1 more than tip…watch the angle of the joints. The angles between the branches should be wider at the bottom of the tree and gradually become tighter at the top of the tree.
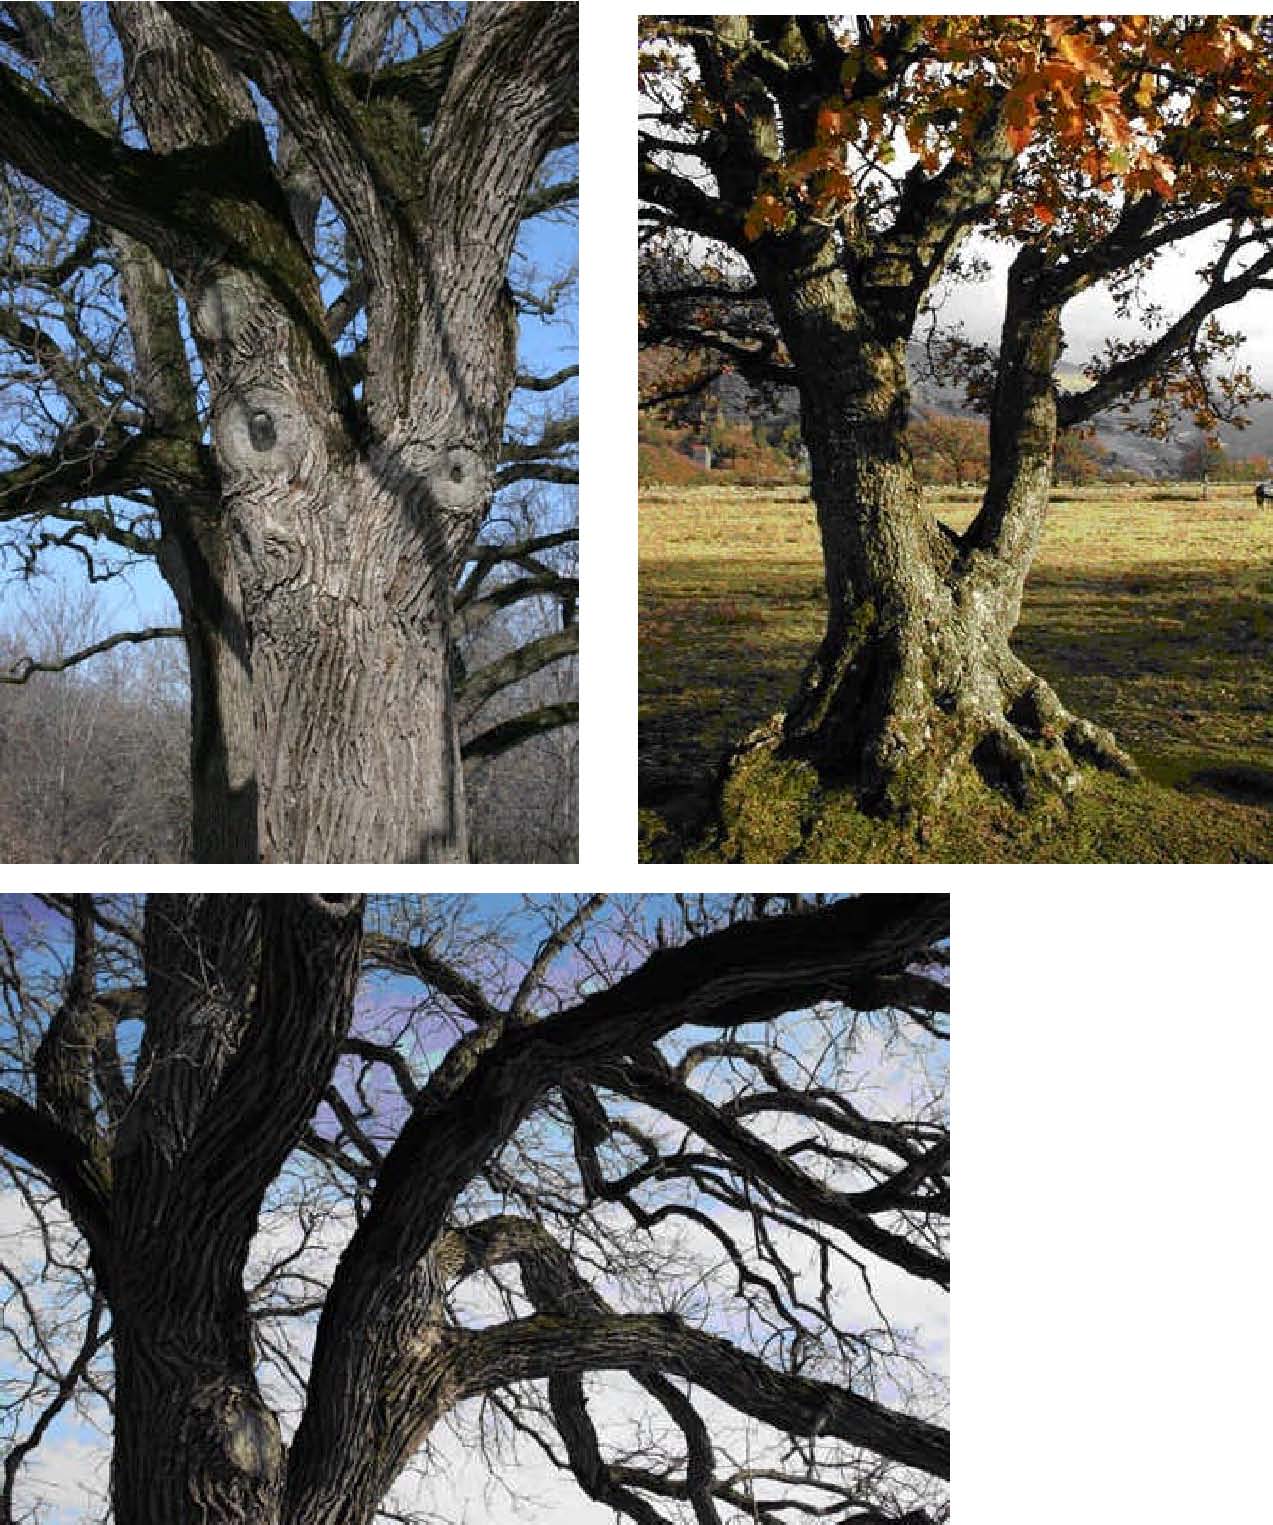
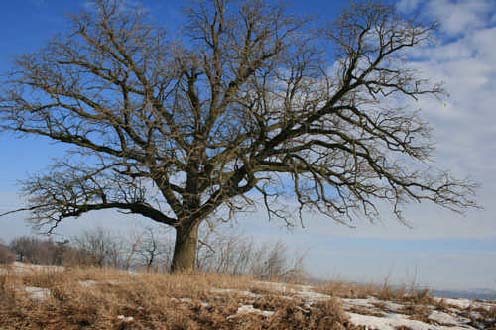
Consignment #3 – Winter Trees
The intent of this assignment is to give you an opportunity to look at the substructure of copse. Here are a diverseness of 'naked' trees for you to practice on. Don't feel overwhelmed at all those petty branches… .you don't have to describe each and every one. Instead draw enough to give the impression and capture the essence of the species. The oak trees have thicker branches than the other varieties.
LEAVES – Upwards-close
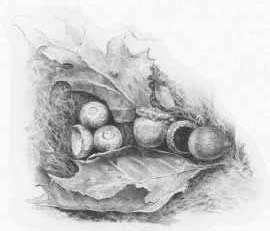
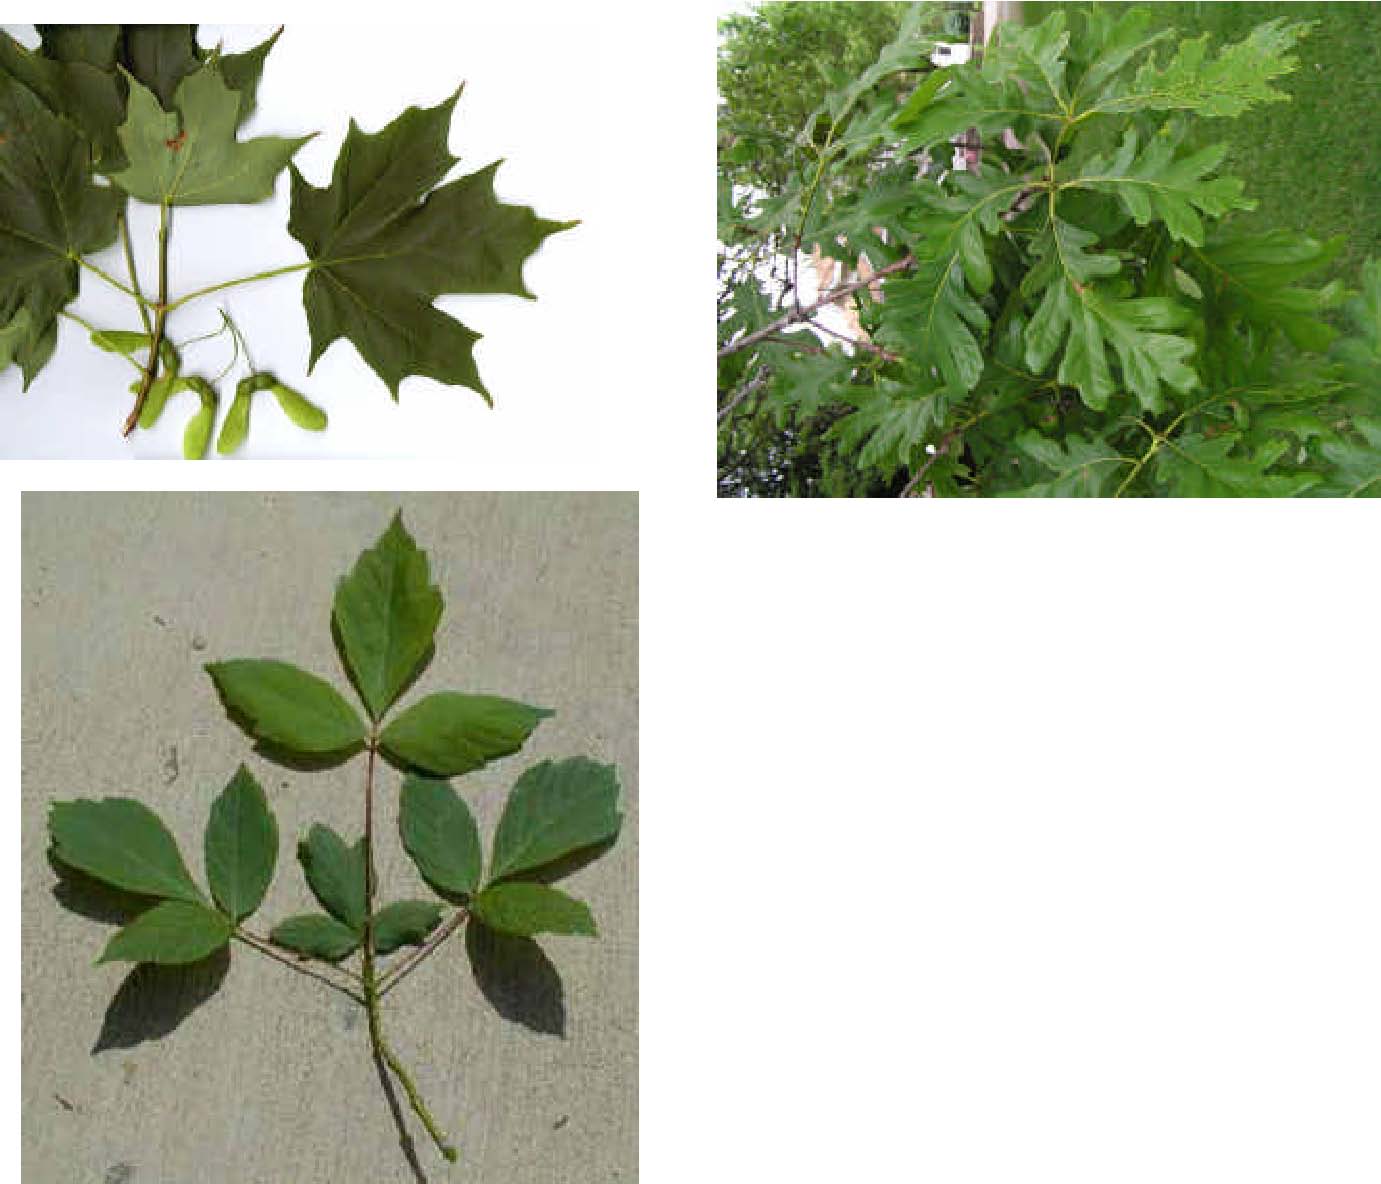
Assignment #4: Leaves
Report and sketch the leaves, fruit and branches of trees. The purpose of this practise is to develop an understanding the shape of the leaves, identify characteristics that brand information technology unusual and how they form the leaf bundles. This agreement volition aid y'all in drawing the tree as a whole.
These can be just sketches or completed drawings – the pick is yours.
I accept attached a few samples of sketches that I have washed. I accept also fastened reference photos from WC Prototype Library and some of my own images.
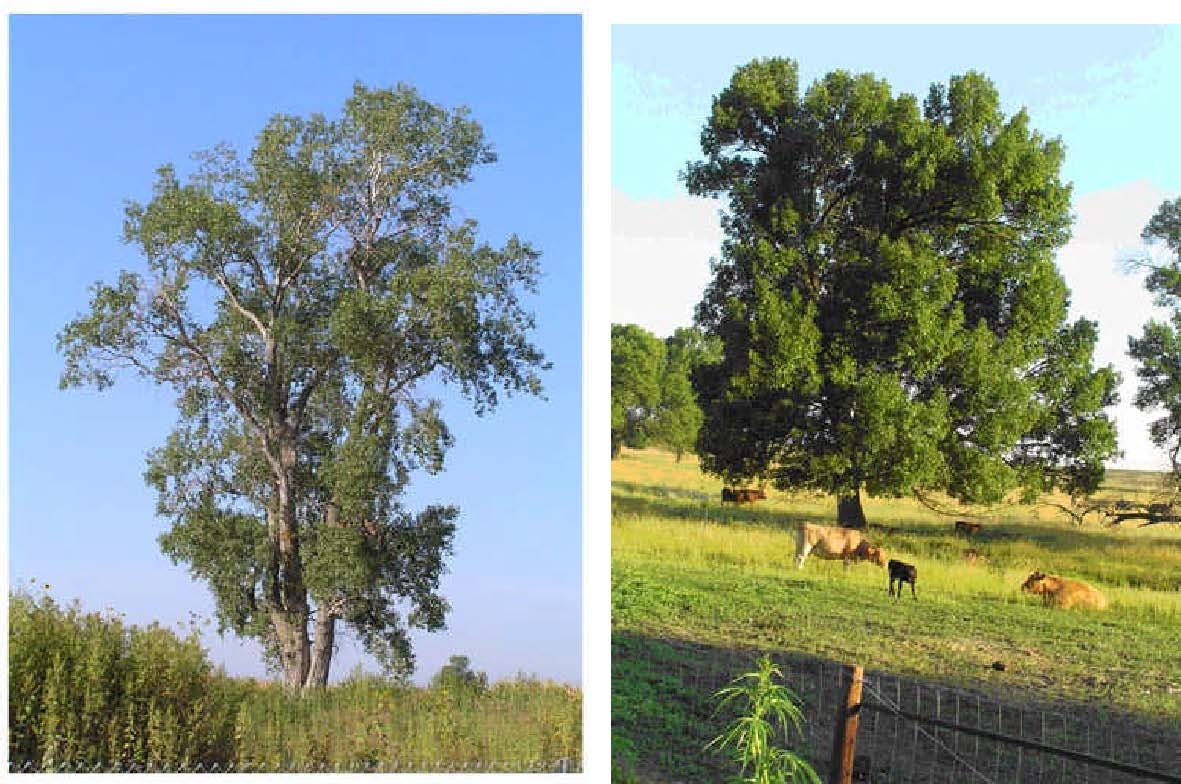
Total-Foliage Trees
When I draw a tree with leaves, I don't think about drawing each leaf. Instead I am thinking of what kind of 'texture' or pencil stroke I can use to represent that bundle of leaves.
With each diverseness of tree, the pencil stroke and texture seem to change to accommodate the different leaf variety and how the leaf bundles lay.
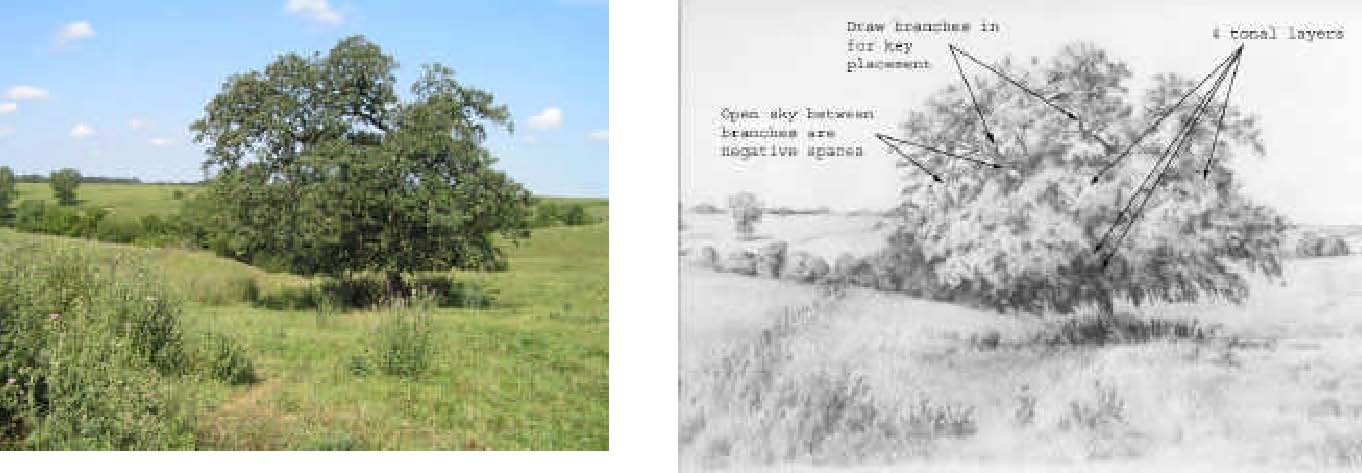
Tips for drawing a summer tree
The distance of the tree – background, midground, foreground or upclose determines the size of the texture and detail placed on the tree.
E'er, be aware of where your light source is coming from. This will affect how those leaves will look and how the bundles volition be shaded.
Identify those 'almost' hidden branches and draw them in for central placement.
The open spaces between the branches are important to allow the sky to show through.
Use a minimum of four tonal values.
The inside branches volition ever exist darker and tin can create a lot of depth to your tree.
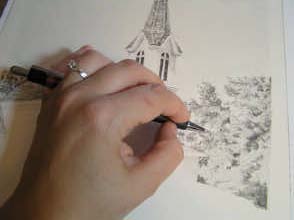
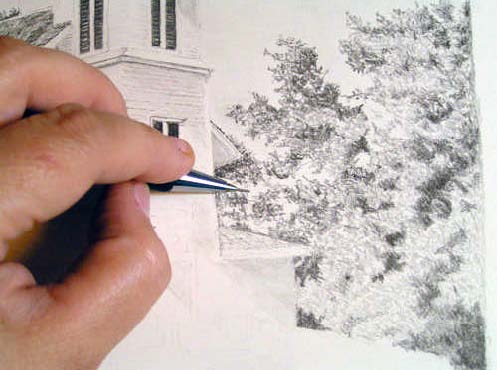
Underhand pencil grip:
And so just how do I draw the foliage on a tree? I use an under-hand pencil grip when cartoon foliage. I keep my wrist straight and use full-arm movement. I exercise not rest my hand on the paper. This will take some practice to control your pencil strokes, but once learned, yous will discover your pencil strokes volition have more fluidity to them.
I besides apply .5 mm mechanical pencils, equally the tip is just the right size. For upward-close leaves or larger areas – I volition utilise a clutch pencil with a chisel point.
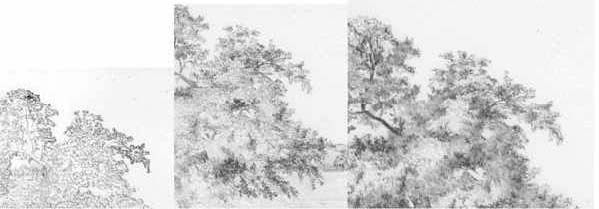
Pencil stroke:
The pencil stroke that I use is a scribble stroke. Using the under-manus position, I create a scribble or a curt random stroke to create the leaves. I build up the areas to create texture that will represent the leafage bundles.
In the shadowed areas I printing harder creating darker areas.
A tree is never outlined or solid. Those outside leaves and branches are critical to the shaping of the tree I keep the trees airy – leaving more than openings than the reference photos show.
I use a battery-operated eraser to restore the lightest leaves or to requite sun-kissed highlights to a tree.
Assignment 5:
Practice the scribble pencil stroke using the nether-mitt pencil grip. Draw the branches kickoff to give y'all a sense of where you are. Save the white spaces (heaven showing through). In these areas observe that the leaves are actually darker. The inner branches will be darker than the outer branches.
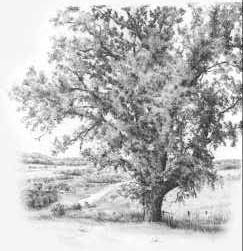
ASSIGNMENT #half dozen – Full-Foliage Trees
Select ane or more of these trees to describe. 2 of these trees are also in the winter tree photos. Can you match them
upwards?
I promise you enjoyed this lesson on how to describe copse with pencil step by step. Notice more drawing lessons and tutorials on our site here.
Virtually Diane Wright
In 2002, I picked upwards my fine art pencil again afterward 20+ years. During this break, I devoted my time to my family and building a career. Fifty-fifty though I earned my Bachelor of Fine Art degree at the University of Northern Iowa, my career path ventured away from the fine arts. I am currently an IT Manager at a medical auditing firm in Des Moines, IA. My children are in college and it's now time for me to explore my arts again! I live with my wonderful husband, Les, in the modest town of Mitchellville, Iowa.
– Diane Wright
To learn more most Diane and to view her work, delight visit her website: https://www.dianewrightfineart.com/


0 Response to "how to 3d drawings with pencil"
Enregistrer un commentaire